Troubleshooting and Repair Tips - Symptom -
Whirlpool Dryer Motor Replacement
This topic teaches you how to replace a motor in a common classic Whirlpool dryer. The motor sometimes needs to be replaced as a result of the bearing seizing or windings that have shorted out. The symptom is usually that the dryer won't start, but buzzes loudly when pressing the start buttong. Sometimes with a bad motor, the symptom will be that the dryer runs for a few minutes and stops, with a burning smell.
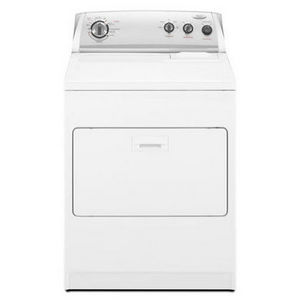
Whirlpool Electric Dryer Motor Replacement. Basic (not Cabrio) model with lint screen on top right. (motor part number 279827)
-Unplug dryer.
-Pull out the lint filter on the top right of the dryer.
-Remove the two screw that hold the top of the dryer to the lint filter housing.
-Pull the top of the dryer forward to release from the two front retaining clips.
-Lift the top of the dryer from the front.
-Disconnect the door switch connector on the right.
-Locate the two screws - one on each side inside the dryer that hold the front on.
-Remove the two screws.
-Pull the front of the dryer forward and lift up.
-Reach under the drum to the right and put tension on the idler assembly to release the belt.
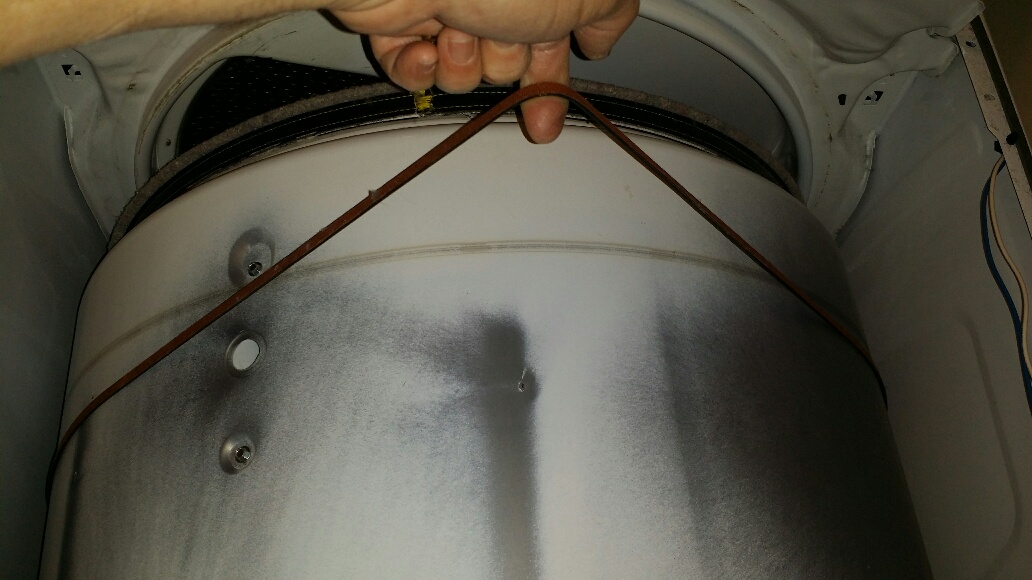
-Grab the belt at the top of the drum and lift the drum out.
-Note the motor on the right hand side. It likely does not spin very freely as a result of its failure.
-Remove the wiring harness from the motor.
-Note the position of the back retainer clip and then remove as shown in the picure.
-Use a large adjustable wrench as shown to secure the blower at the back side of the motor.
-Use a pipe wrench on the front pulley and turn sharply clockwise to release the blower from the motor.
-Once the blower is initially free, continue turning the motor shaft clockwise to fully unscrew the blower from the motor.
-Note the position of the front motor retaining clip and remove using a screwdriver as shown in the picture.
-Lift out the motor and put the new motor in place.
-Important - Orient the new motor just like the old one, with the wiring harness at about 8 o'clock.
-When the motor is oriented properly, it will fit snugly into the u-shaped supports.
-Turn the motor counter-clockwise to screw the blower on.
-Reconnect the wiring harness to the motor.
-Place the retiaining clips back on using a screwdriver for leverage.
-Put the drum and belt back in and install the idler assembly so that it is oriented as shown.
-Reassemble the dryer in reverse order as described and test.
 Whirlpool Dryer Top Removal
 Whirlpool Dryer Front Panel Removal
 Push Idler to Right to Release Belt
 Whirlpool Dryer Drum Removal
 Rear Retainer Clip Removal
 Placement of Adjustable Wrench for Blower Removal
 Releasing the blower from a Whirlpool Dryer Motor
 Front Retainer Clip Removal - Whirlpool Dryer Motor
 New Motor in Place and Front Retaining Clip Installation
 Drum back in place with Idler Assembly oriented in correct position
|
