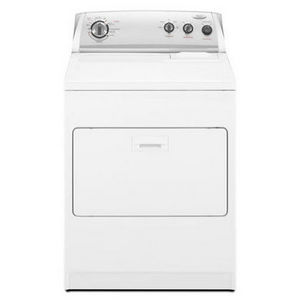
Troubleshooting and Repair Tips - Symptom -
Kenmore Oasis Dryer Disassembly
This topic covers the Whirlpool made Kenmore Oasis Dryer disassembly and testing of certain components. The Oasis has no front access panel. Disassembly is similar to the common sucessor model that had the lint screen on the top right. However, the Oasis has a separate belt driven blower. Real-time testing of this dryer is challenging because you have to completely disassemble the unit to access the element, idler, belt, etc. The particular Oasis dryer that was disassembled per the instructions below happened to have a clogged blower. Upon further investigation, the dryer had a bird stuck in the blower. The symptom was that it was particularly noisy and wouldn't blow air out of the back. There are many safety features in the dryer, but a clogged blower causes the heater to run very hot and trip the high limit thermostat or the non-resettable thermal cutoff. Fortunately in this case, only the high-limit thermostat was triggered, sparing any need to replace parts.
Kenmore Oasis Dryer (Whirlpool made) Disassembly and Test - refer to pictures below for more information.
- Unplug the dryer.
- Open the door.
- Use a sturdy putty knife on the left 3 inches and push in to release the top.
- Repeat for the right side.
- Lift up the top to expose the drum and inner front panel.
- Unscrew the 5/16" screw on both the inner right and left side as shown in the picture below.
- Disconnect the door switch connector on the top right of the dryer.
- Pull down the front panel.
- Remove the filter housing/blower cover below the front of the drum.
- Remove the four screws that attach the front drum support.
- Remove the moisture sensor connector at the bottom right of the front drum support.
- Remove the front drum support.
- Reach in below the bottom right side of the drum and grab the idler assembly and push to the right to release the belt.
- Remove the drum by lifting up on the belt and guiding the drum out of the dryer.
- The heater housing, blower assembly, and motor are not exposed.
- Note the belt-driven blower assembly in the center of the dryer base, the heater on the left, and motor on the right.
- Test the heating circuit as follows:
- The heating element wires are the red ones closest to the front.
- The high-limit thermostat is the next one back.
- the furthest back is the non-resettable thermal cutoff.
- A good heating element should get a reading on the X1 setting of your ohm-meter.
- Both the high-limit thermostat main wires and the thermal cutoff should read close to zero ohms if they are good.
- Check to make sure the pulley on the blower is in-tact. They tend to unscrew themselves.
- The two sensors on the blower are the thermal fuse and thermistor.
- The thermal fuse is closest to the front and should read zero ohms.
- The thermistor should read about 11.9K ohms at 70 degrees. Set your ohm-meter to the x1k setting for this reading.
- Check blower for obstructions if it is not blowing air out of the back. This unit in illustrated below had a bird caught in the blower.
- Reassembly is the reverse as described.
 Kenmore Oasis Electric Dryer
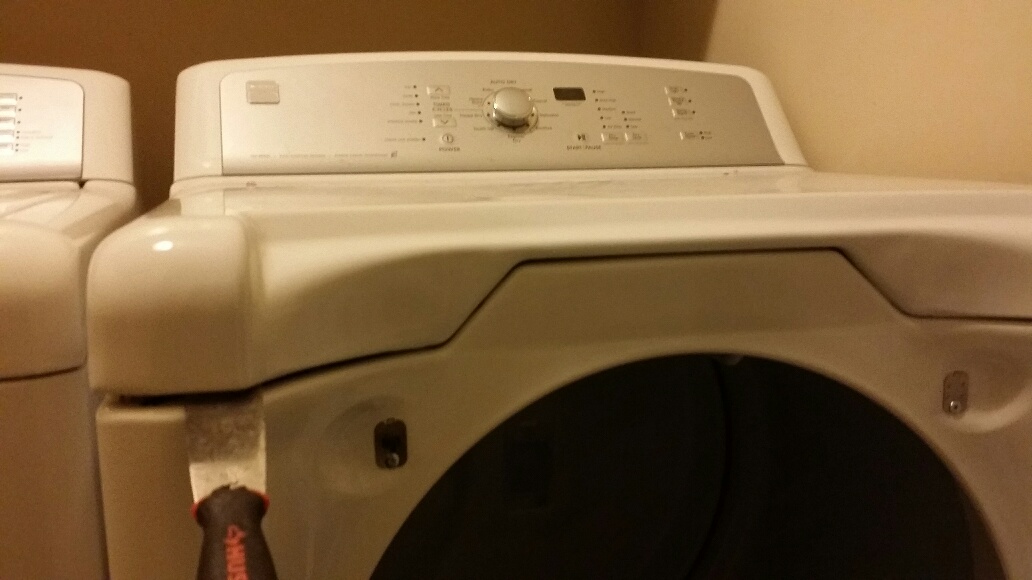 Kenmore Oasis Dryer Top Removal
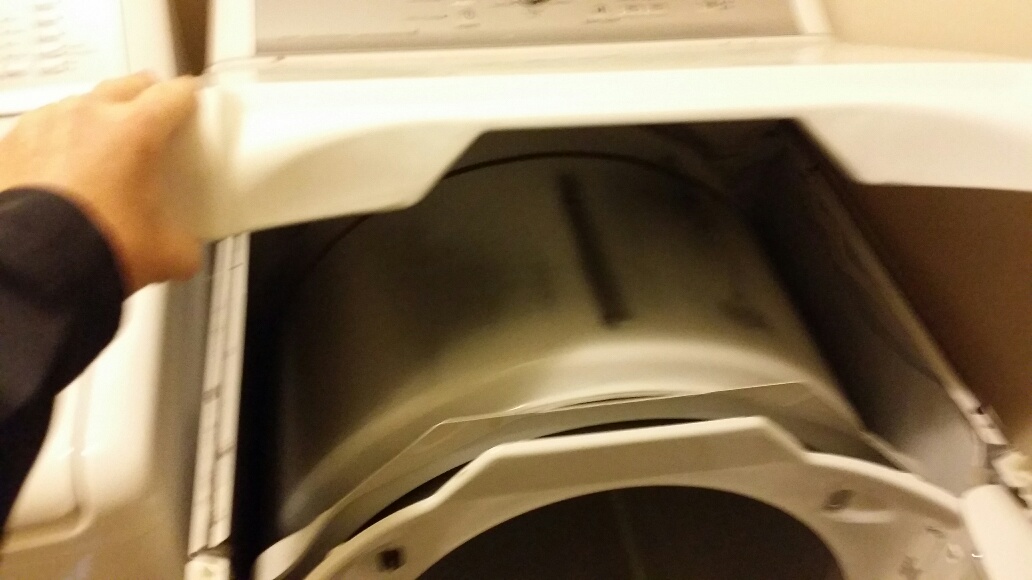 Kenmore Oasis Dryer Top Removal - 2
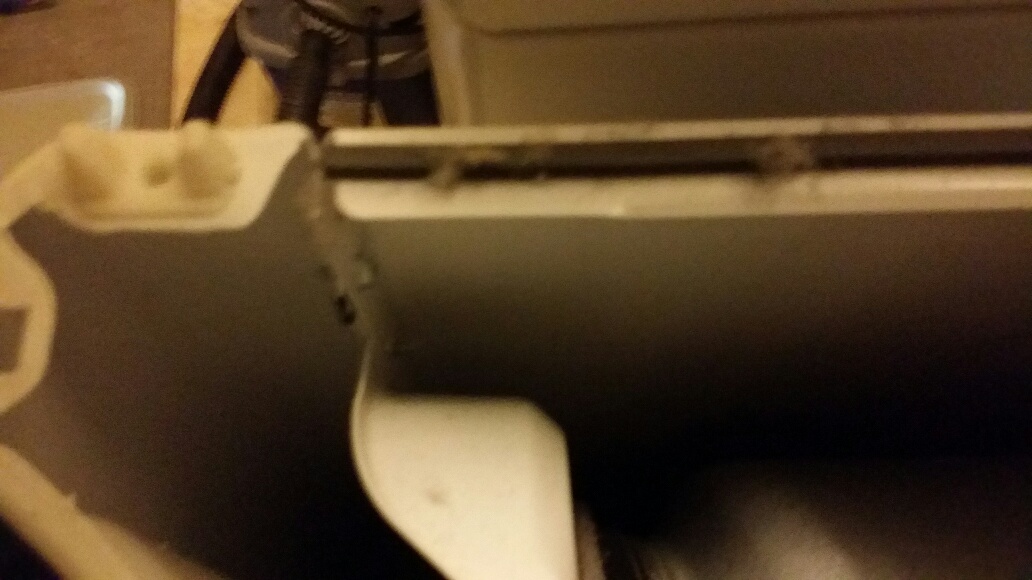 Kenmore Oasis Dryer Front Panel Removal
 Kenmore Oasis Dryer Blower Housing
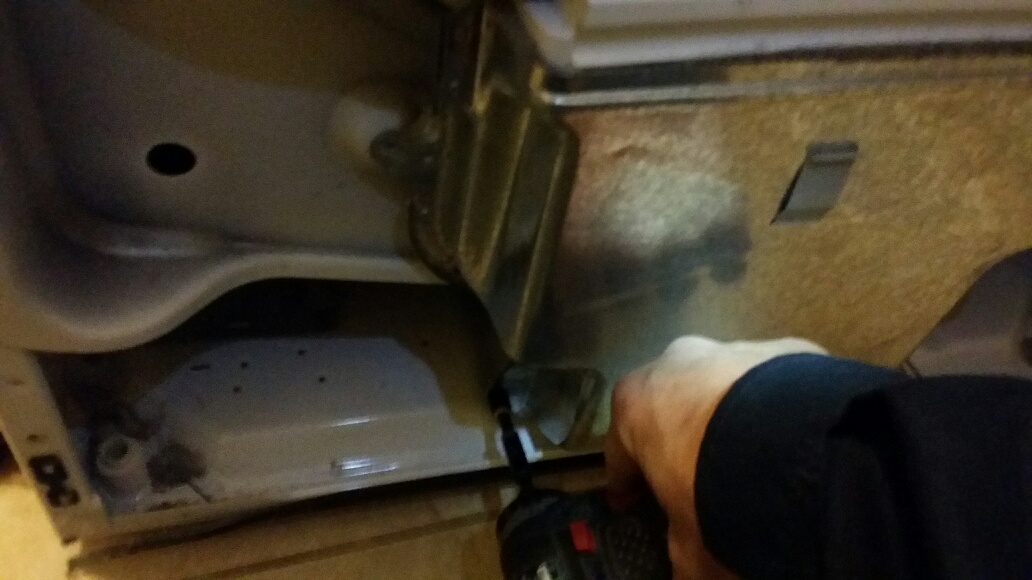 Kenmore Oasis Dryer Blower Housing Removal
 Kenmore Oasis Dryer Moisture Sensor Connector Removal
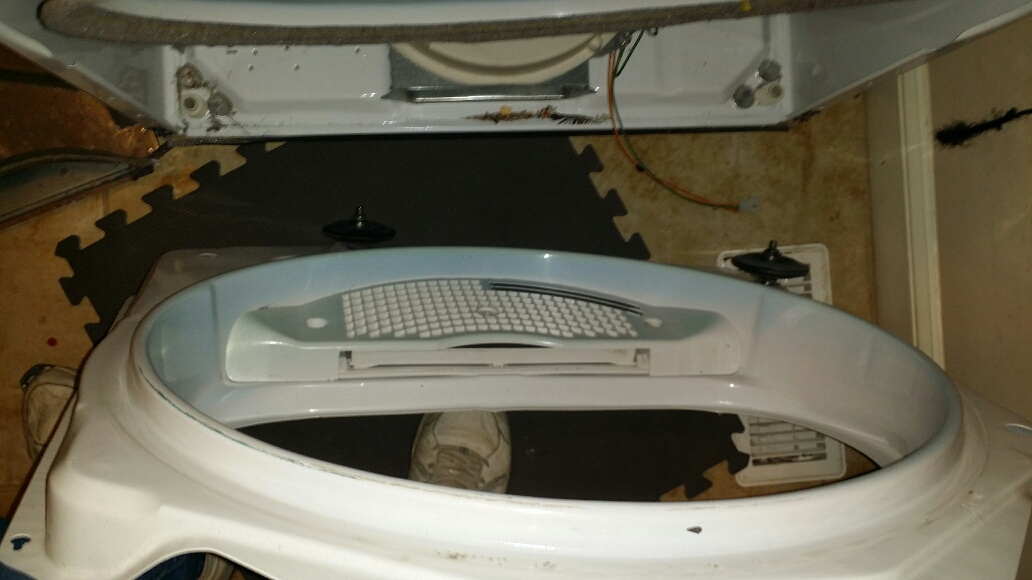 Kenmore Oasis Dryer Front Drum Support Removal
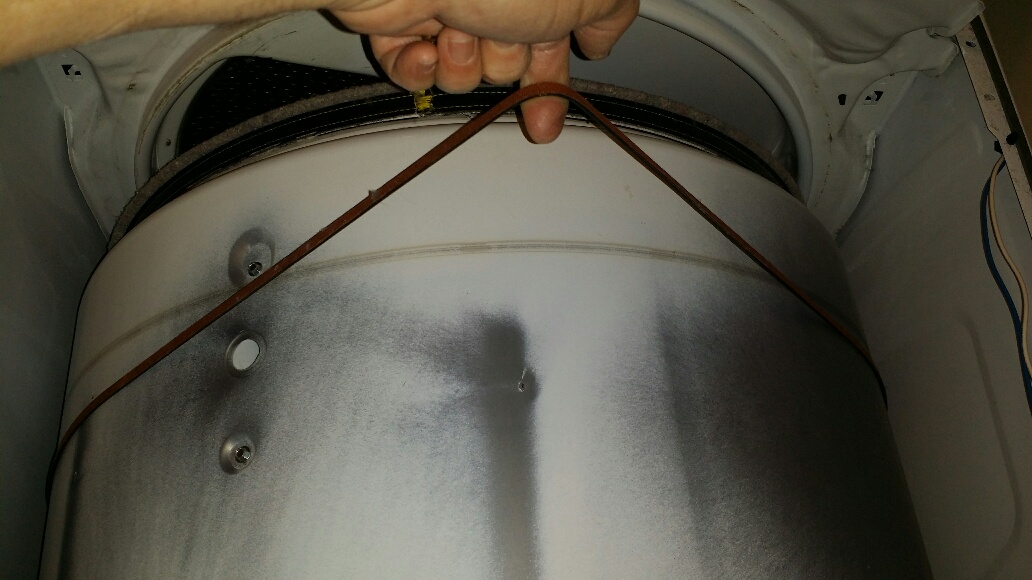 Kenmore Oasis Dryer Drum Removal
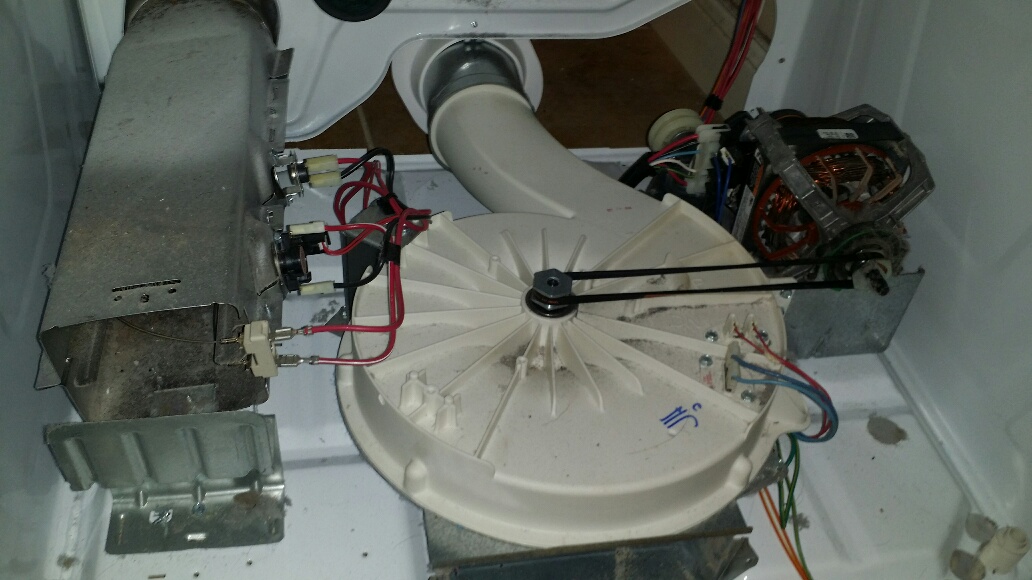 Kenmore Oasis Dryer Heater, Blower, and Motor
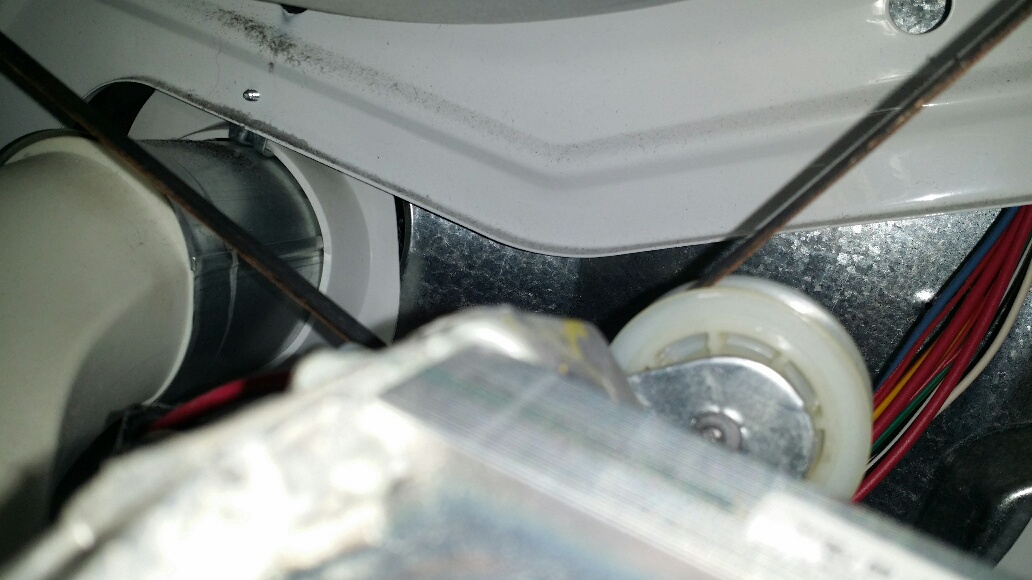 Kenmore Oasis Dryer Idler Assembly
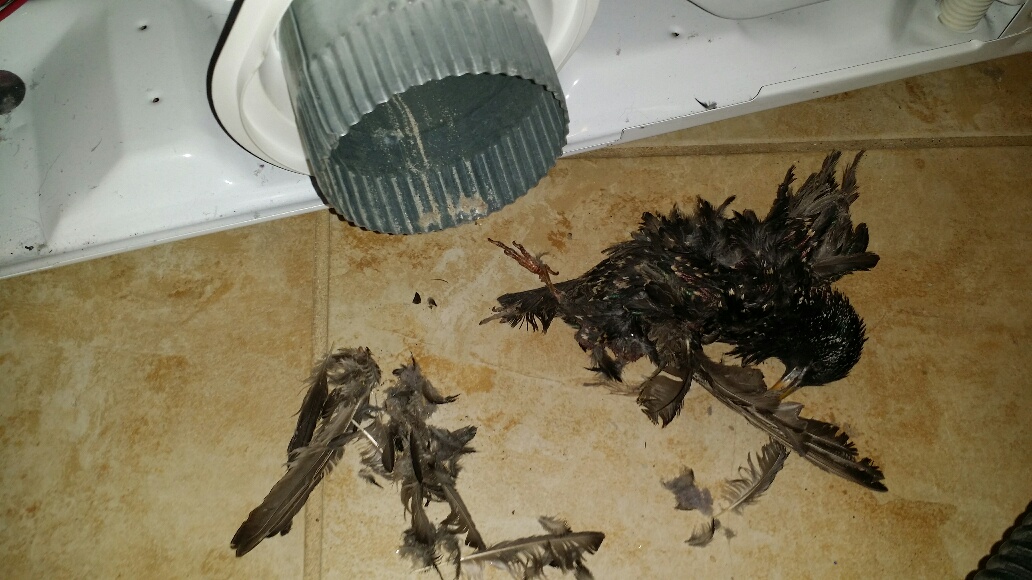 Kenmore Oasis Dryer Bird in Blower Housing
|
